KAREN PRYOR CLICKER TRAINING IS DEDICATED TO HELPING YOU TRAIN BETTER.

Drawing from decades of expertise by Karen Pryor, Ken Ramirez, and leading industry experts, our comprehensive library offers an extensive collection of clicker training resources, all available online.
Whether you're a beginner or a professional, you'll find valuable insights, proven techniques, and innovative methods to enhance your training skills and achieve better results—and relationships—with your animals.
Please note: We are in the process of migrating many of our blogs to our new website. If you are looking for a specific resource, please let us know at editor@clickertraining.com, and we'll do our best to expedite the request. Thanks for your patience!
Looking for article.

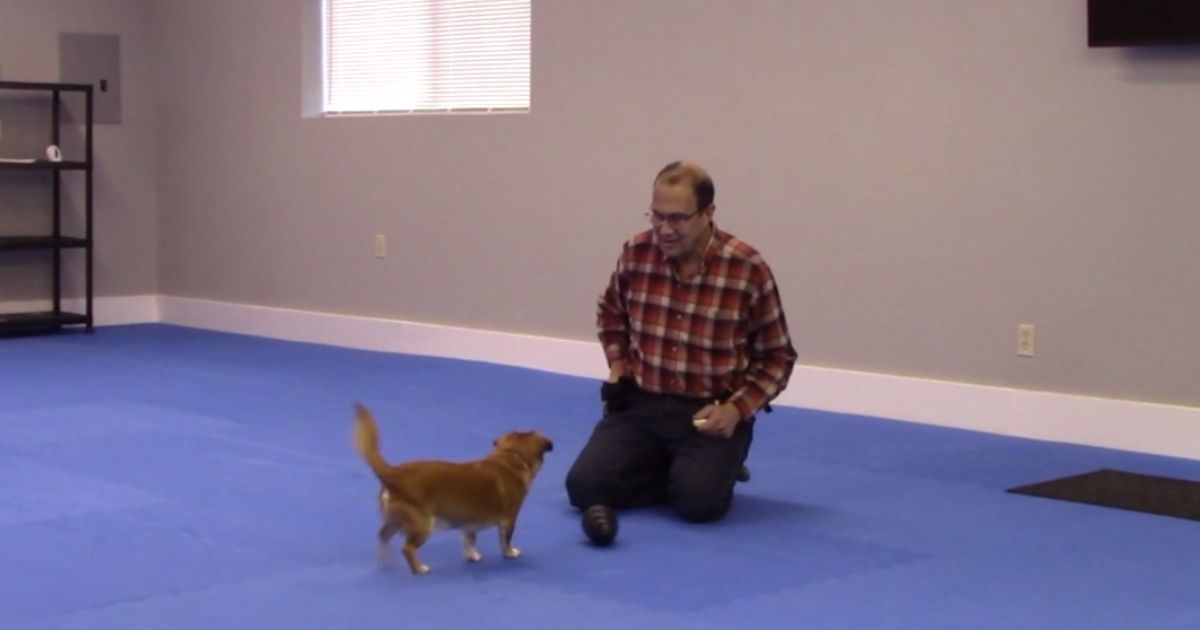
I Spy… Fun Group Dog Training Classes
Terry Ryan is known for her pithy wisdom, patience, and signature classes that are creative, fun, and effective. Her training games help improve the performance of both canine
How to Know If Enrichment Is Actually Enriching
So, you want to provide enrichment for your pet or your clients’ pets. Awesome! Welcome. One of the questions we at Pet Harmony get asked frequently is, “How

On Being a Changemaker
So you’ve become a clicker trainer! Naturally you are very excited. You want other people around you to stop using punishment-based methods and start clicking. So you introduce
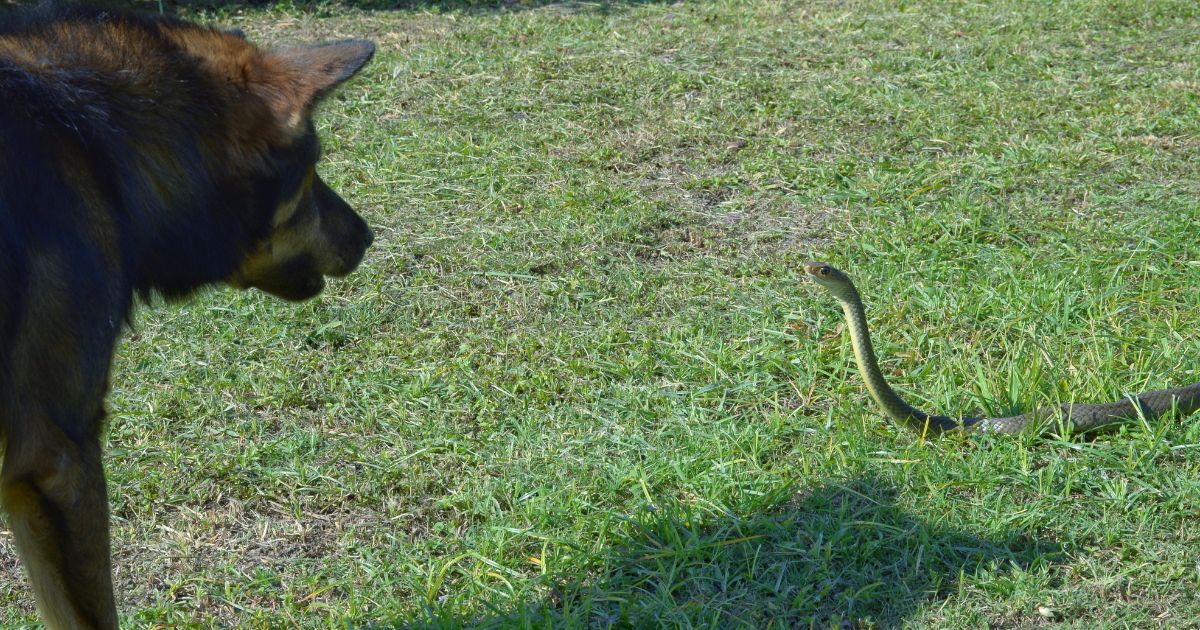
Snake Avoidance: A Positive Reinforcement Approach
Snake-avoidance training can be a lifesaver for dogs that live among venomous snakes. A common way to train snake avoidance is to pair a strong aversive, like an electric
Foundation Behaviors: A Practical Perspective
I am asked regularly, “What are the first behaviors that we should train our animals? Does the order matter? How do we determine what should be trained first?”

Conservation Training
One of my greatest passions is conservation training; I lecture about this topic at every opportunity. I always end my talks with a call to action, inviting more

How to Communicate with a Deaf Dog
Challenge: a hearing-impaired dog Do you care for a deaf dog? Have you ever had the opportunity to work with a deaf dog? I had not—until Blanca. In

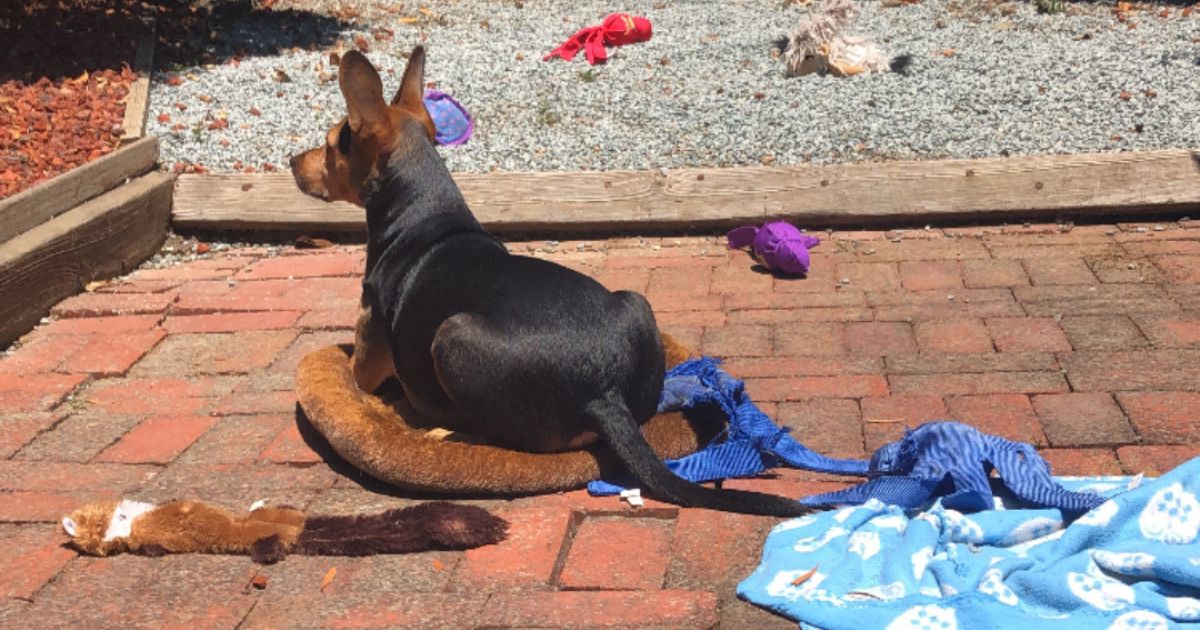
How to Use a Snuffle Mat
Does your dog scarf down his food in record time? Do you wish you could slow him down as he eats his meals?Would you like to find a way

How to Teach Loose-Leash Walking
Oh, my aching arm Get your dog to walk without pulling! But how? We are masters at allowing our dogs to drag us down the street. The most

Ignorance Is Bliss: Real-World Use of Modifiers with a Search & Rescue Dog
A search-and-rescue start Sometimes trainers venture into uncharted training territory without realizing how novel or new it might be. I have been teaching a graduate course on animal


